How To: Use a Torque Wrench On a Bike? (4 Simple Steps)
Learning to use a torque wrench on a bike is a must if you have ever accidentally rounded out an Allen key head. Or been nervous about over-tighten bolts on your new carbon bike? If so, you are not alone, no matter how experienced a bike mechanic you are, you can never consistently tighten bolts to their intended tension. This is why the use of a torque wrench is important for modern bikes.
What Is Torque?
Torque is the amount of rotating force applied to an object which rotates, such as a bolt or, a screw. To determine torque (T), you multiply the Force (F) by the Length (L) of the lever on a rotational axis.
Torque is measured in both Newton-meters (Nm) or pound-inch (lb-in). (when calculating Nm to lb-in the conversion is; 1 Nm is equivalent to 0.738 lb/ft)
What Is a Torque Wrench?
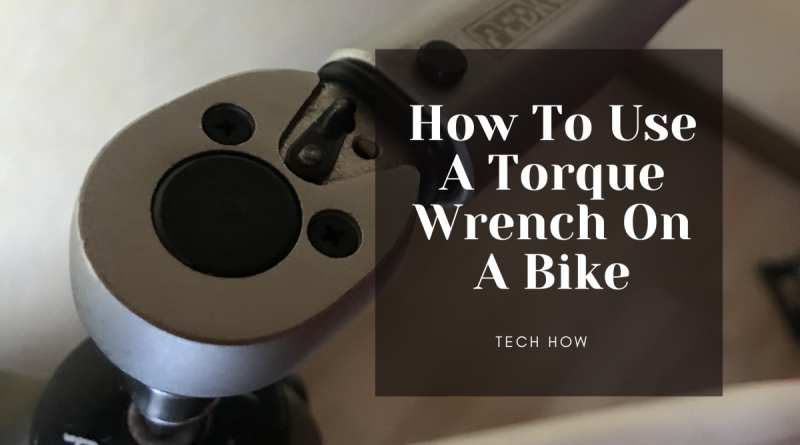
A torque wrench is a tool used to define and achieve a specific rotational tension (Torque). This is the perfect tool for fastening something such as a bolt or a nut at a specific tightness.
Why Use a Torque Wrench On A Bike?
Manufacturers are using an extensive variety of materials that are becoming thinner and thinner to make components lighter. Carbon fiber is a key example, which has a very low tolerance to being over-tightened or fitted incorrectly compare to metal components. This means it’s much more important to ensure components are tightened to the correct tension. This is why you use a torque wrench, as you can be sure you’re tightening the bolt up to the manufacturer’s recommended tension.
If the tension is insufficient the component will likely come loose, and the bolt will eventually rattle out and be lost and could cause an accident. If the tension is too tight, it will possibly cause damage to either the thread, the bolt, or the component itself – which is why using a torque wrench on a bike is important.
What Are Torque Specifications?
Torque specifications are how tight the manufacturer recommends to fastening a component. These specifications are normally measured in Newton Meters or Inch-pounds. You can normally find the torque specifications on the manufactures website or the product user manual.
What Are The Types of Torque Wrenches Used On Bikes?
There are a number of different types of torque wrench people use on mountain bikes, some are better suited for home mechanics and others are better suited for a bike shop
There are 4 main types of torque wrench used on mountain bikes:
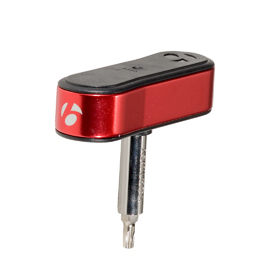
Preset torque wrench
A preset torque wrench is a torque wrench with a factory preset torque that isn’t adjustable. This can be handy for the home mechanic that wants to check their bolts are tight regularly. Often a number of components require the same torque settings so you can use the same preset torque wrench.
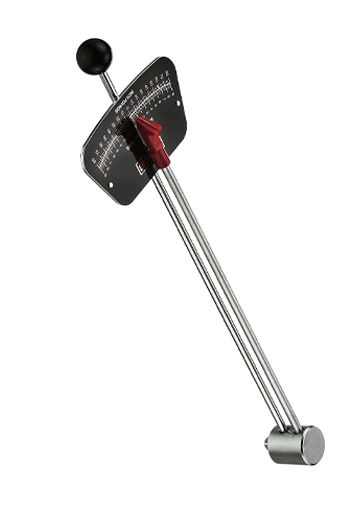
Beam torque wrench
Beam torque wrenches have two beams, one of which points to a scale that indicates the torque. If you notice the bean is not pointing to zero when not under tension, you can easily recalibrate it by simply bending the beam back to zero.
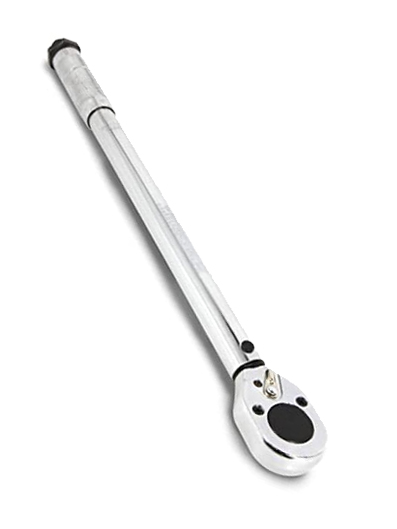
Click torque wrench
The most common type of torque wrenches is the ‘Click type’ wrenches. These need to be set to the desired torque and once achieved, it will just click, and tighten no more. Which ensures you do not over-tighten.
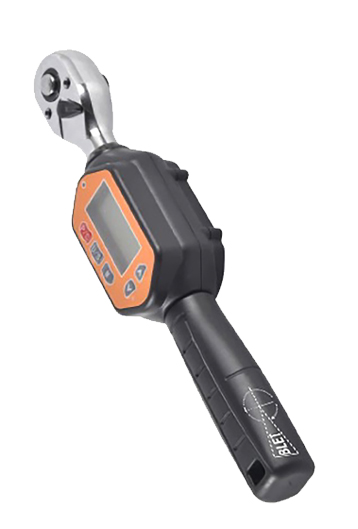
Digital torque wrench
Digital torque wrenches are great because they are accurate up to 2%, unlike the click or beam type wrenches which are normally only accurate to 3-5%.
Do You Need A Torque Wrench To Assemble A Bike?
If you’re assembling a high-end bike then it is definitely recommended to use a torque wrench on all of the components, as this will help prevent any expensive mistakes. It’s especially true if you are working on carbon fibre frames or components. However, if you’re just working on a cheaper bike, then it’s likely to have a higher tolerance to breakage, so you should be able to tighten the bolts without a torque wrench.
What Torque Should Your Pedals Be?
Different brands recommend different torques settling for pedals. The recommended range is normally between 30nm-35nm. So the average is 32.5nm. However, we don’t normally tighten our pedals anywhere near this tight, and never had any issues, but the choice is yours.
Recommended pedal torque settings by manufacturer
| Manufacturer | Newton meters | Inch-pounds |
|---|---|---|
| FSA Cranks | 29~34 Nm | 257~301 in lbs |
| Shimano | 35 Nm | 304 in lbs |
| Truvativ | 31.2 Nm | 276 in lbs |
How To: Use a Torque Wrench
Try to avoid thinking you can guess the perfect torque without using a torque wrench, as you will be guessing at best. Using a torque wrench is super simple when you know how, and could save much time and expense.
Step 1: Start by finding the recommended torque setting that corresponds to the component you want to tighten. This will vary between different components and manufacturers. Check the user manual or manufacturer’s website.

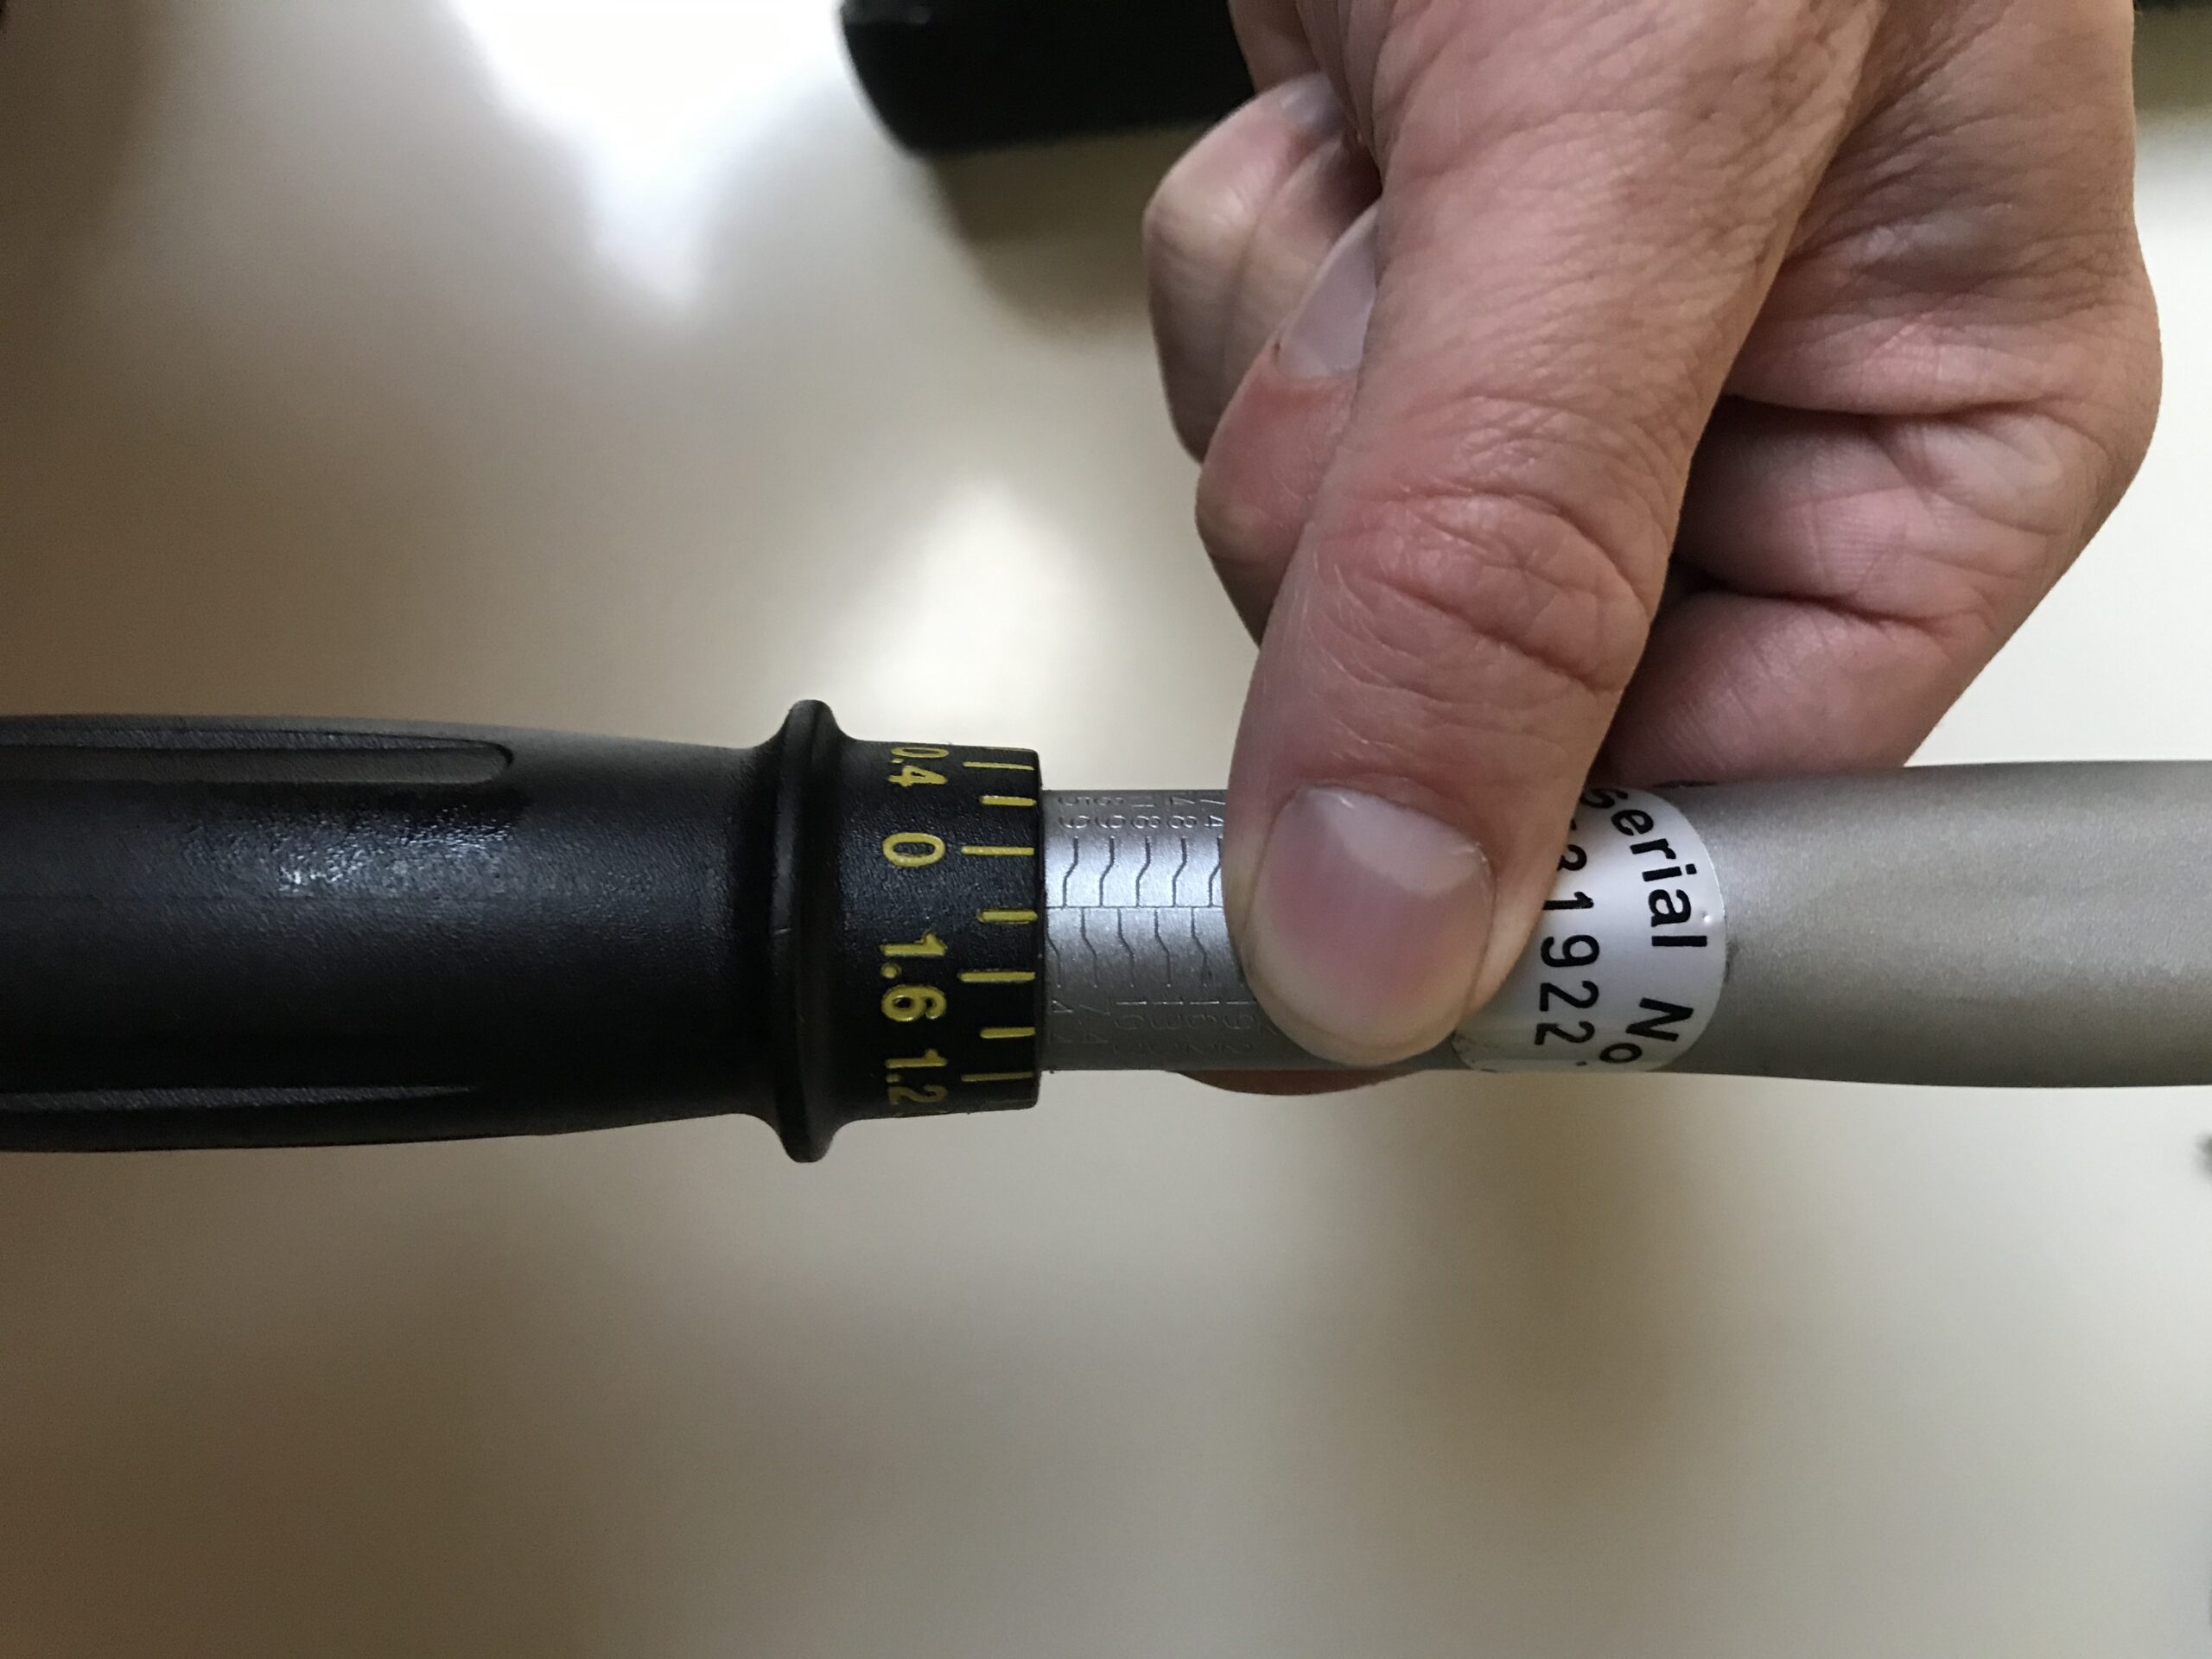
Step 2: Set the required torque setting on your torque wrench. This is either achieved by turning the adjuster on a click wrench or using the buttons on a digital torque wrench. (if you have a preset torque wrench for the correct torque skip this step).
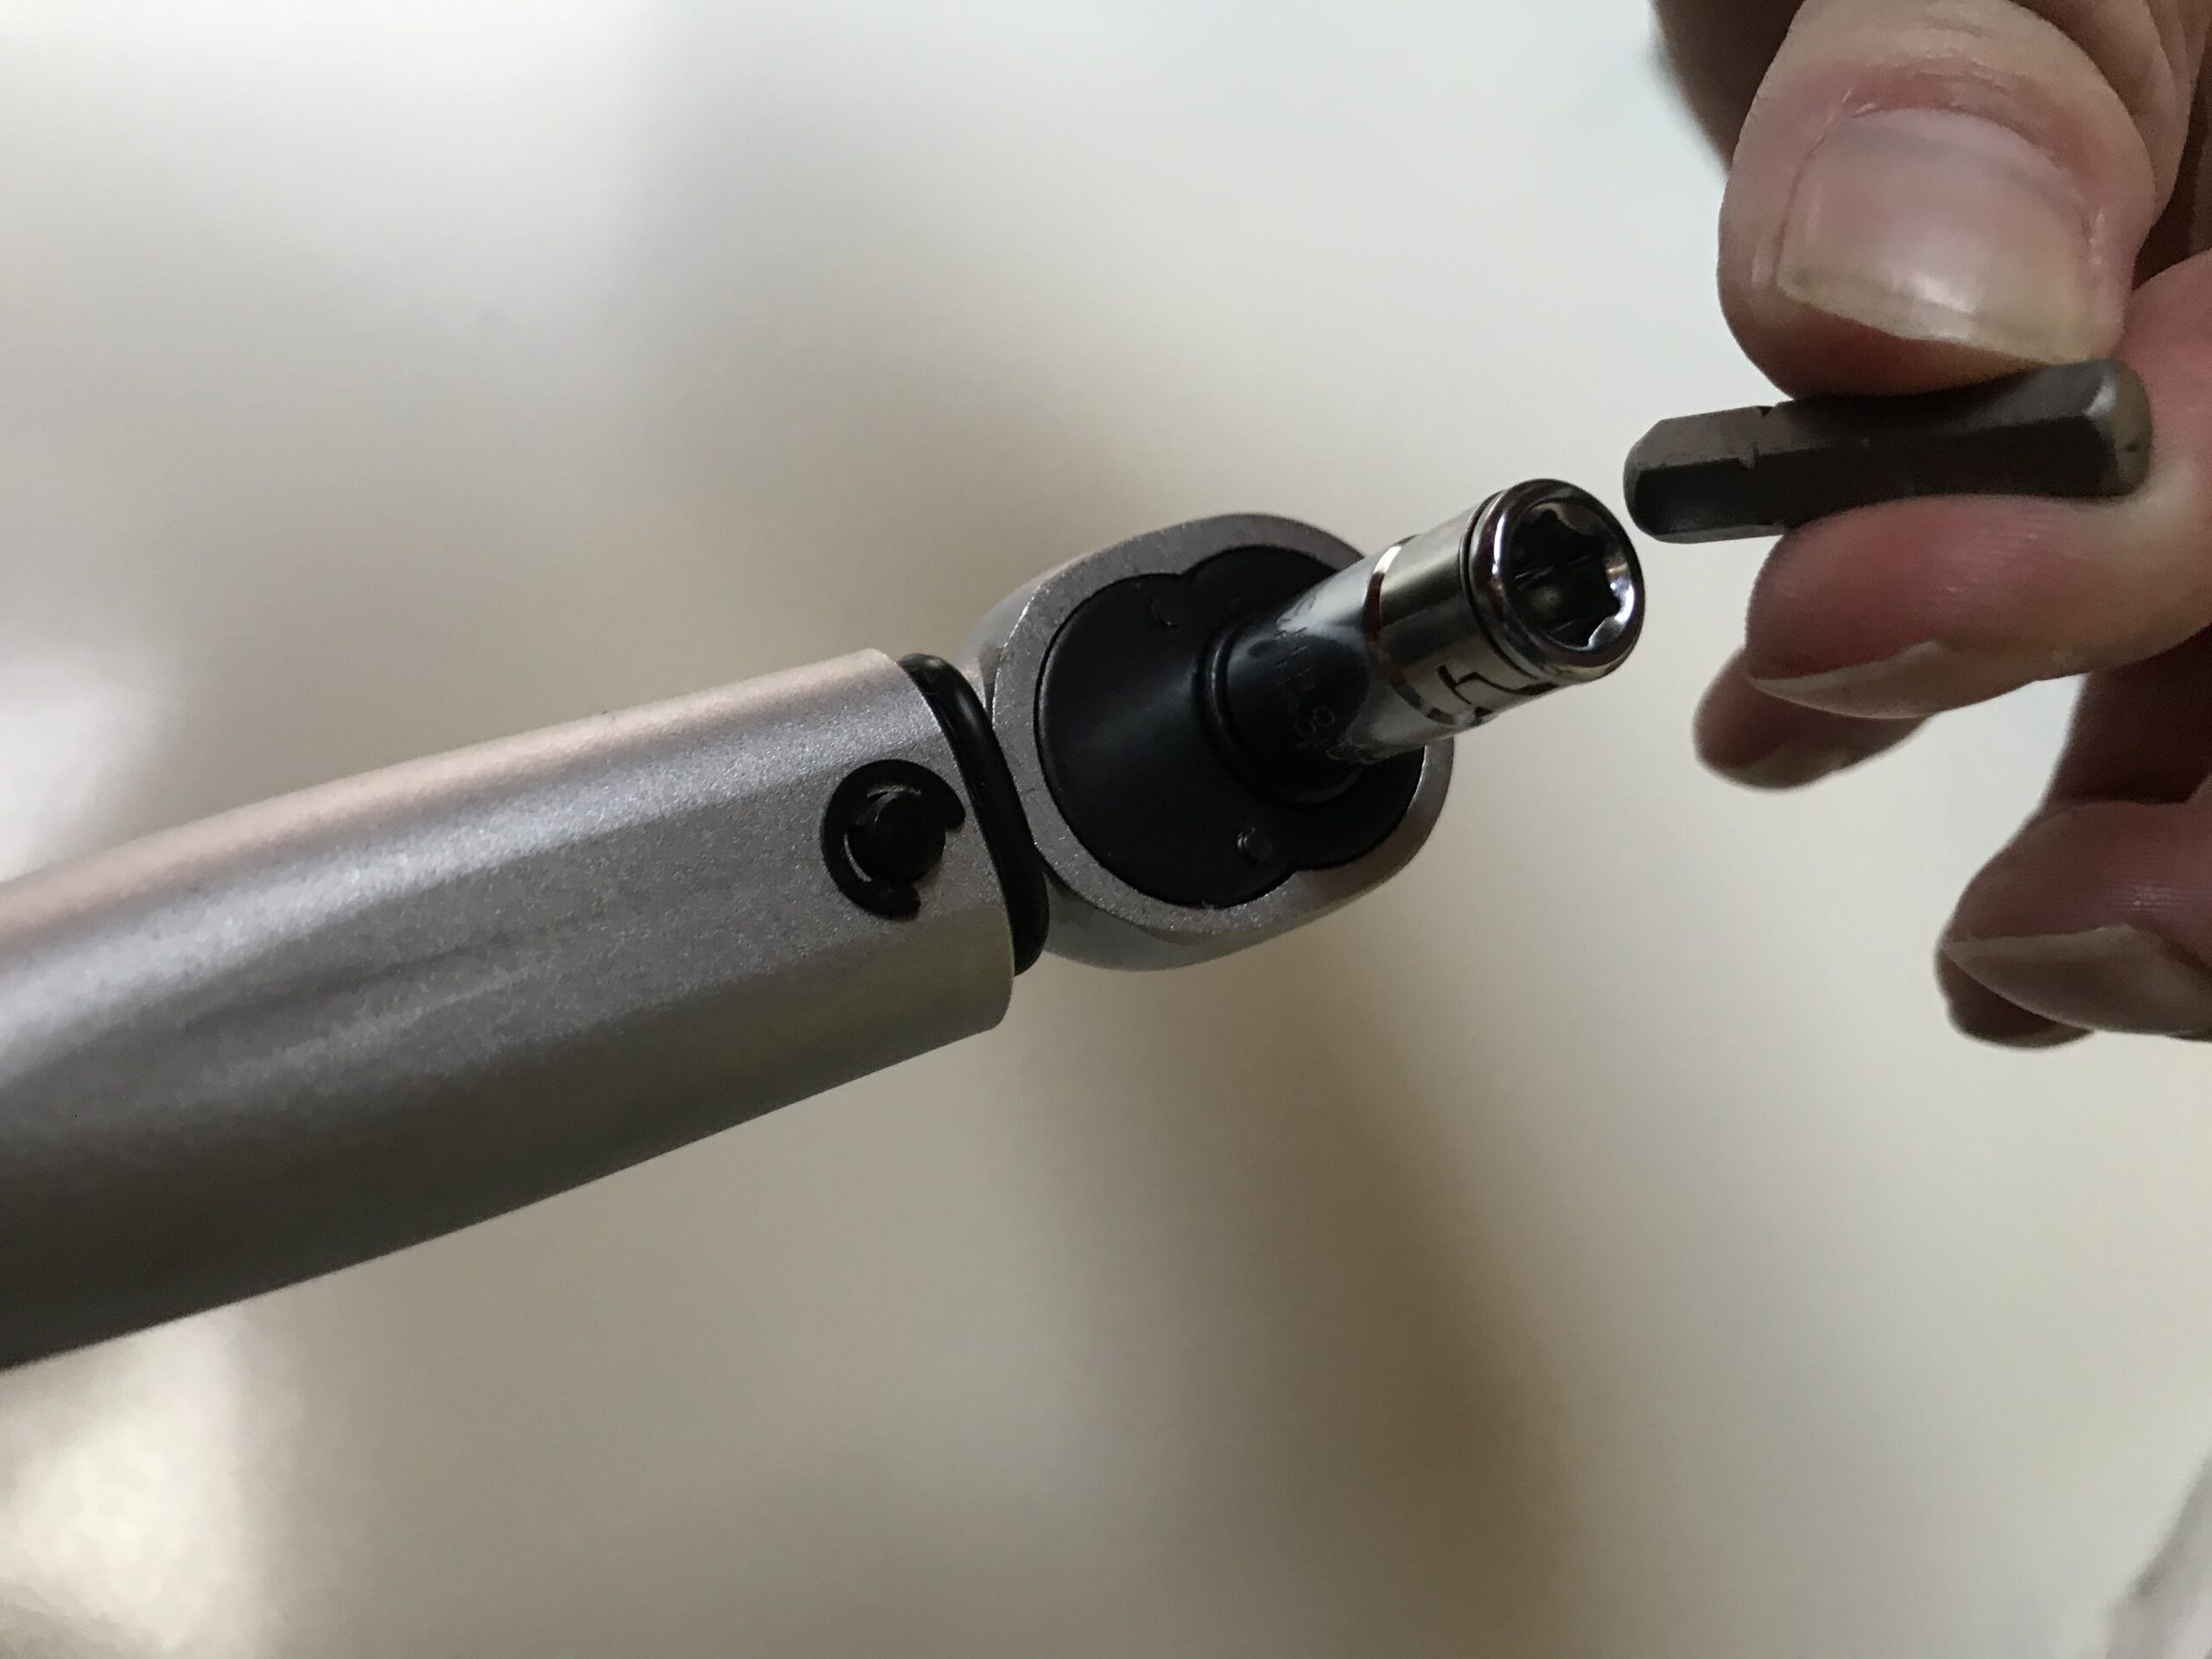
Step 3: Fit the appropriate adaptor for the bolt head you’re wanting to fasten. Normally the correct size socket, Allen key or Torx key.
Step 4: Now tighten to the recommended torque. The beam wrench will stop when the bar indicates the correct torque. A click wrench should not allow you to over-tension (will just ‘click’ once the desired torque is achieved). A digital wrench will usually indicate with a green light or a sound to indicate you’ve reached the required torque. We have a list of some of the most common torque settling here
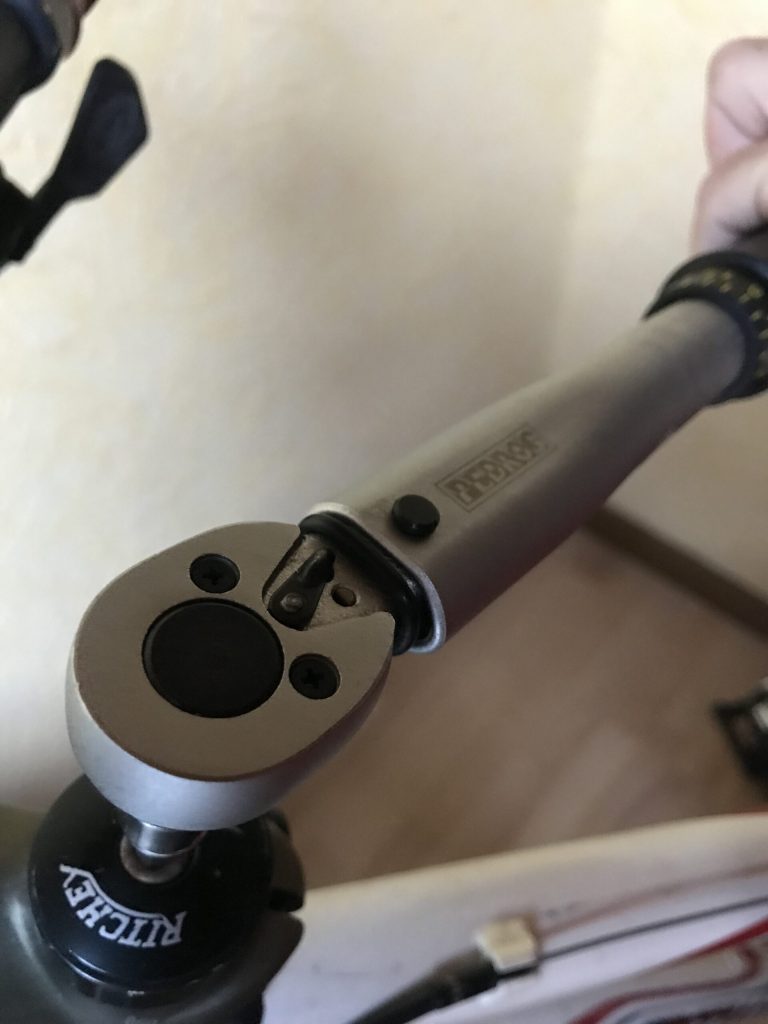
Remember never over-exceed the working range of a torque wrench. Always store in the hard case provided. If the wrench is in constant use, make sure it’s recalibrated once a year by the manufacturer or a reputable service centre.
Also check out:

