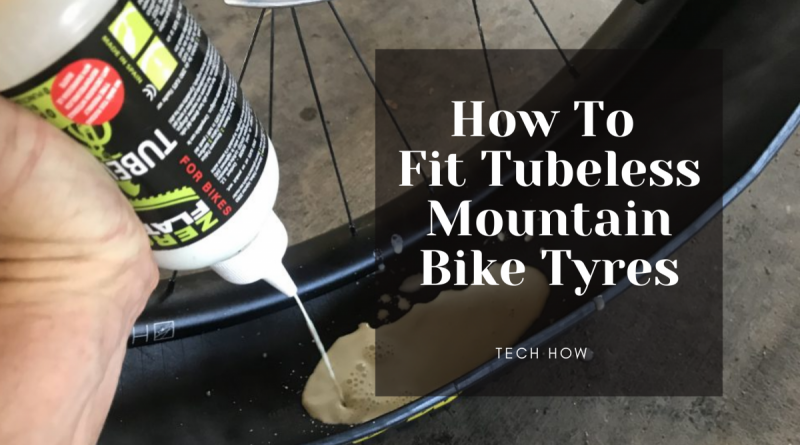
How To Fit Tubeless Mountain Bike Tyres | 9 Simple Steps
Some mountain bike tyres can be used without an inner tube. Usually, this involves using a compatible tubeless tyre, tubeless rim tape, a compatible valve, and tubeless sealant. So if it’s your first time here is a simple guide on how to fit tubeless mountain bike tyres
Running a tubeless system has the advantages of being marginally lighter and the ability to run lower pressures, with less risk of a pinch flat (as there is no inner tube to pinch). The other advantage is it makes the bike handle better as the tyre deforms better on obstacles, and helps improve cornering grip.
However the disadvantages are if you get a rip in the tyre, the tyre will lose pressure and the tyre will need to be repaired or a tube fitted- which can be messy if out on the trail.
Tubeless tyres if fitted correctly are simple to fit. Just remember it’s always worth carrying a spare tube increase the tyre gets damaged.
- How To Fit Tubeless Mountain Bike Tyres
- Step 1: Remove The Wheel From The Bike.
- Step 2: Remove The Old Tyre.
- Step 3: Check Or Install The Tubeless Rim Tape.
- Step 4: Mount One Side Of The Tyre To The Rim.
- Step 4: Add Sealant.
- Step 5: Mount The Other Side Of The Tyre To The Rim.
- Step 6: Rotate The Tyre.
- Step 7: Inflate The Tyre.
- Step 8: Let The Air Out Until You Reach Desired Pressure.
- Step 9: Refit To Bike And Check Pressure.
- Questions and Answers
- How Do Tubeless Mountain Bike Tyres Work?
- How Much Does Tubeless Tire Sealant Cost?
- What Psi Should My Tubeless Mountain Bike Tires Be?
- How Much Does It Cost to Go Tubeless on A Mountain Bike?
- Do Tubeless Tires Go Flat?
- How Long Do Tubeless Tires Last?
- What to Do if You Get a Flat on Tubeless?
- Is It Normal for Tubeless Tires to Lose Air?
How To Fit Tubeless Mountain Bike Tyres
Difficulty – 2/5
Time – 10 minutes
Tools
-Tyre lever
-Pump (a compressor is recommended if you have access to one)
Parts
-Tubeless sealant
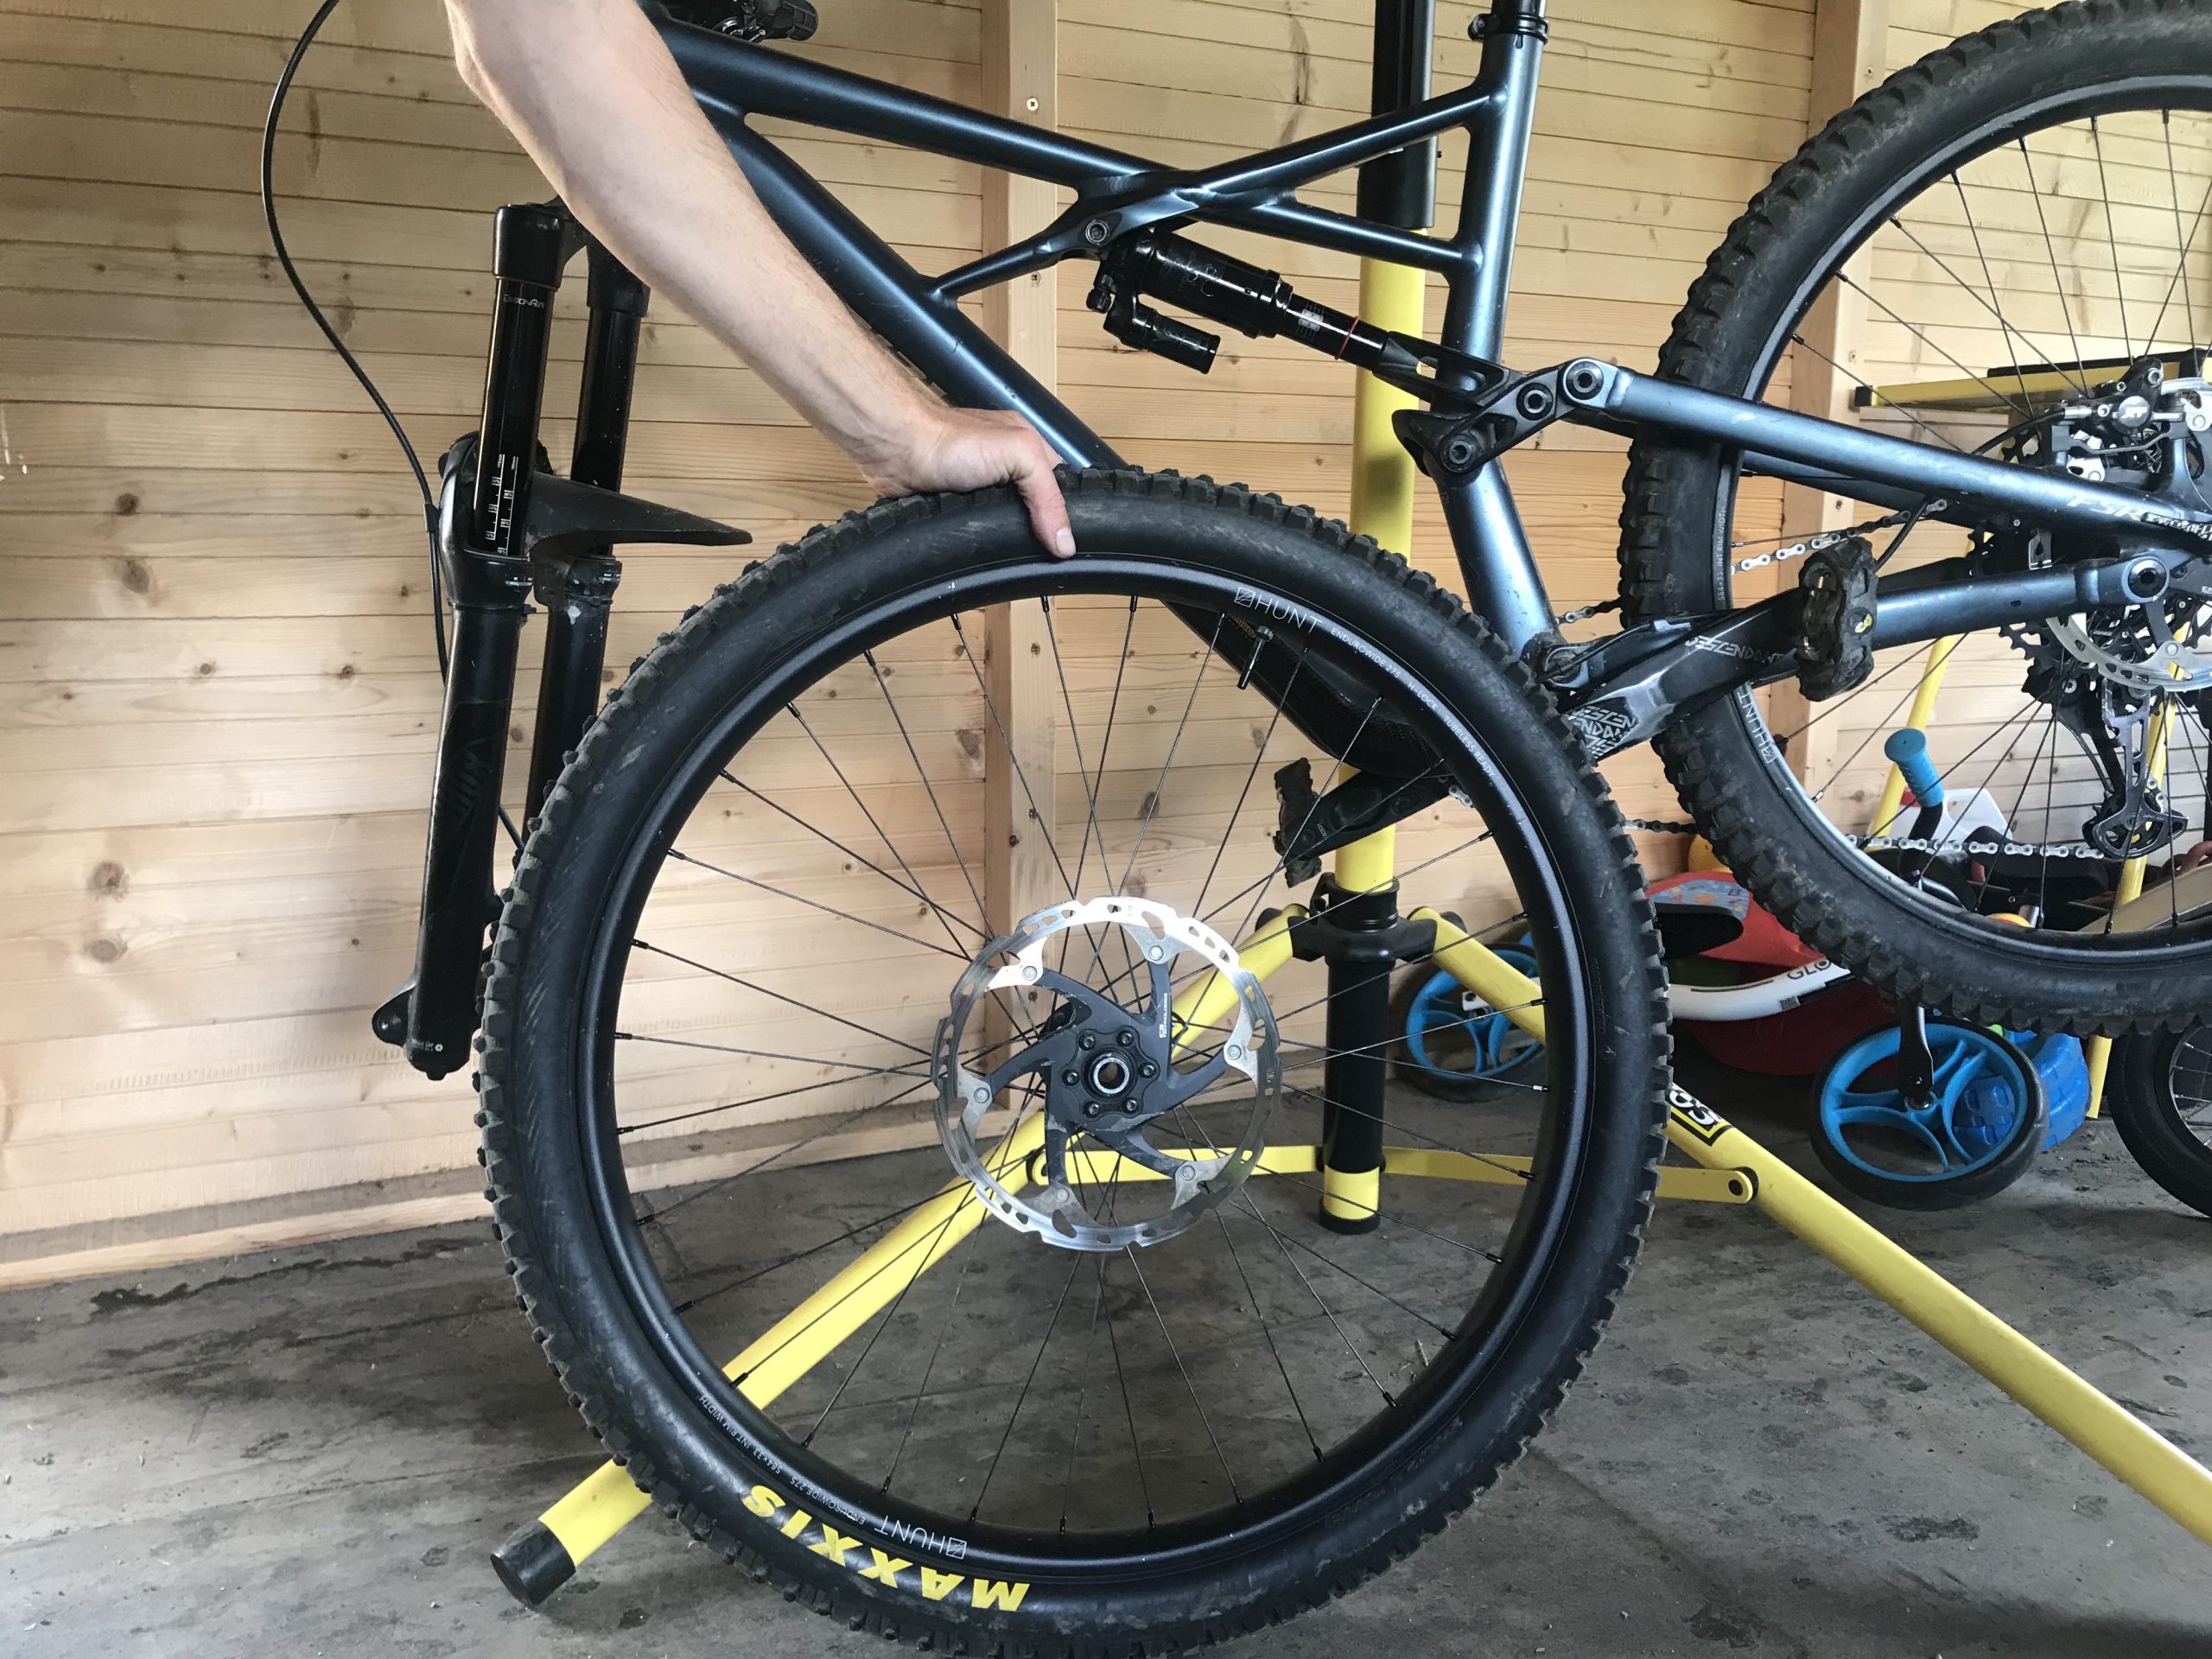
Step 1: Remove The Wheel From The Bike.
Remove the wheel and depress the valve removing all the air from the tyre.
Step 2: Remove The Old Tyre.
Before removing the tyre, start at the valve, and pull the tyre away from the rim roughly every 15cm to dislodge the tyre’s bead from the rim. Do this on both sides. This should make it much easier to remove the tyre, and hopefully, only require only 1 tyre lever.
Remember to always use plastic tyre levers to reduce rim damage, this is especially true when working on carbon wheels. Start at the valve, hook the tyre lever inside the rim, and slide around the tyre until the tyre is free from the rim on both sides.
Step 3: Check Or Install The Tubeless Rim Tape.
Ensure it is placed evenly on the rim and goes up the sides of the rim to form an airtight seal. If reusing rim tape inspect for any damage, especially around the spoke eyelets.
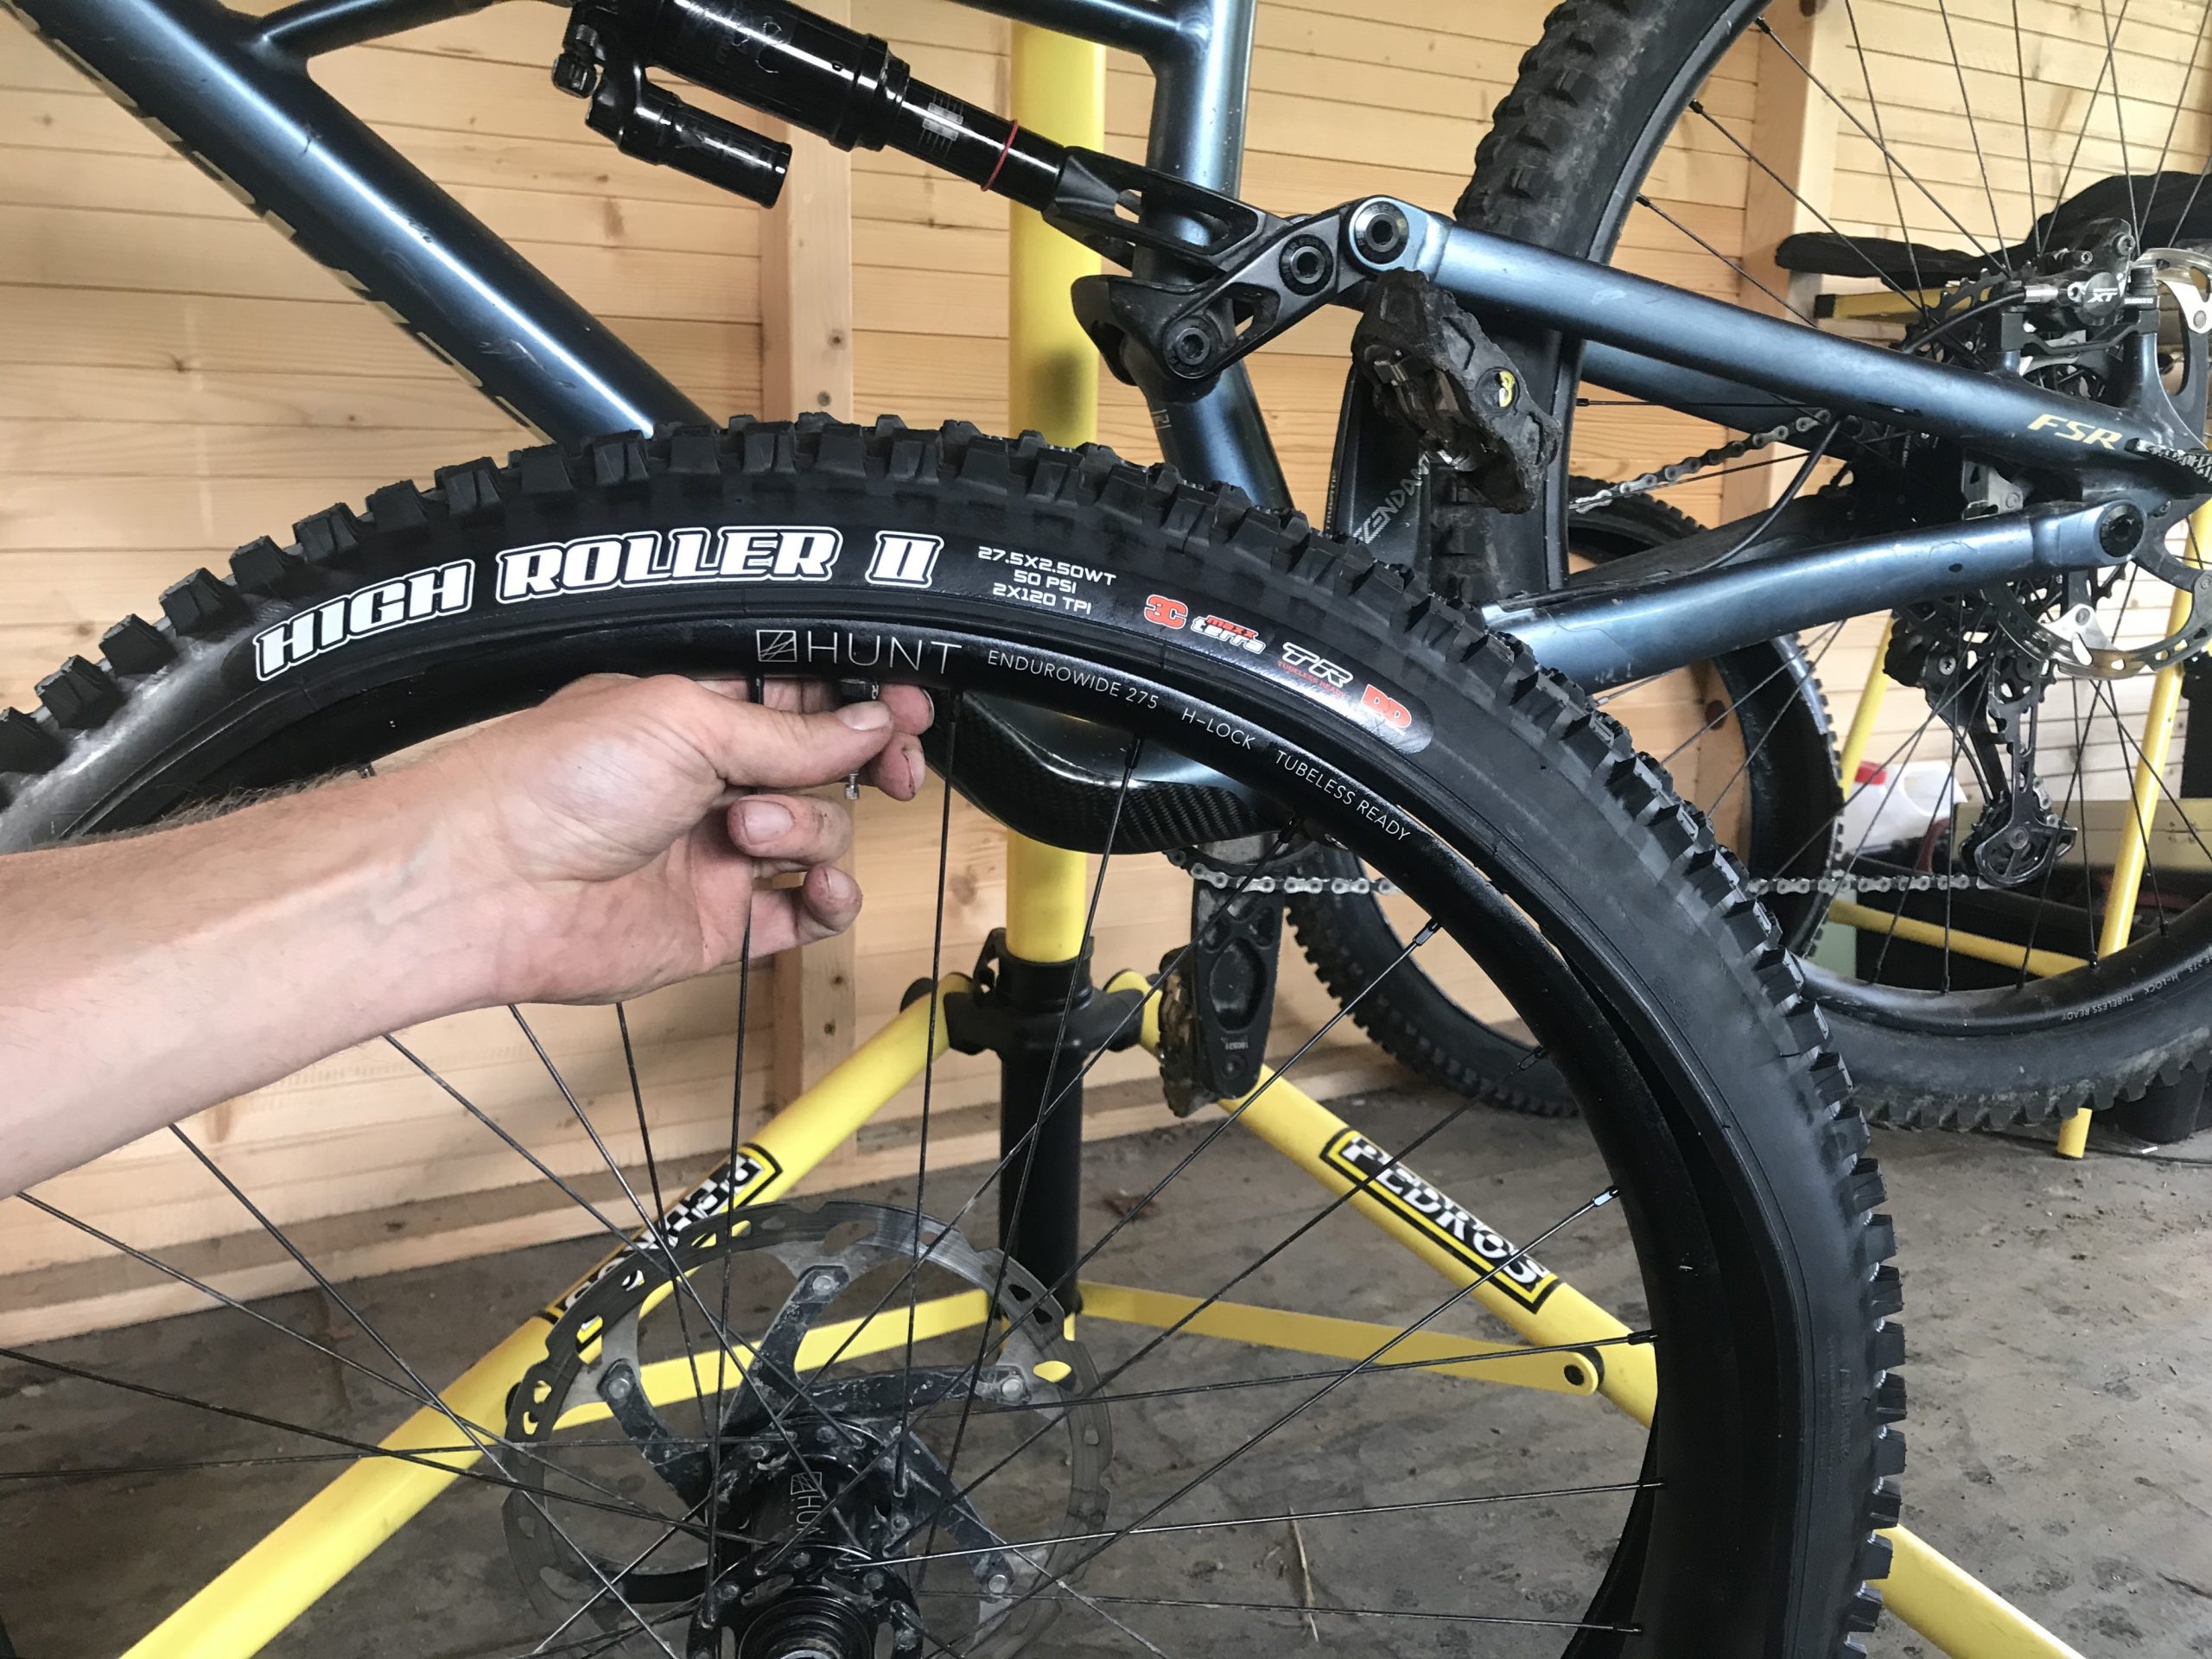
Step 4: Mount one side of the tyre to the rim.
Apply a coat of soapy water to the bead of the tyre (this helps lubricate the tyre and allows it to slide into place on the rim much more easily). Use both hands, and hook the tyre back on the rim.
Pro tip: Remember to line up both the logos on the rim and the tyre.

Step 4: Mount One Side Of The Tyre To The Rim.
Apply a coat of soapy water to the bead of the tyre (this helps lubricate the tyre and allows it to slide into place on the rim much more easily). Use both hands, and hook the tyre back on the rim. Pro tip: Remember to line up both the logos on the rim and the tyre.

Step 4: Add Sealant.
If needed pour the manufacturer’s recommended amount of tubeless sealant into the tyre.
Note: If you have a tyre marked ‘UST’ then you have a fully compatible tubeless tyre and should not need to use any sealant – however, it’s always recommended to use at very least 50ml of sealant. If your tyre is marked ‘tubeless ready’ then the tubeless sealant is needed to help seal the tyre and stop air leaking out of the rubber.

Step 5: Mount The Other Side Of The Tyre To The Rim.
If required use tyre levers to fit the other side of the tyre to the rim. Remember to carefully hold the wheel vertical while fitting the tyre to avoid spilling the tyre sealant (tyre sealant is messy stuff!).
Step 6: Rotate The Tyre.
Rotate and gently shake to spread the tubeless sealant around the tyre (while holding the tyre vertically).
Step 7: Inflate The Tyre.
Inflate tyre to around 55-60psi until the bead pops onto the rim. It’s best to use a high-pressure pump or an air compressor to inflate the tyre, as it’s necessary to quickly put a large volume of air into the tyre to force the bead into the rim. If using a hand pump, rapid pumping will be necessary. Be sure to not go over the tyres maximum inflation pressure as stated on the sidewall.
TOP TIP: If you are having issues pumping up your tyre, try and remove your valve core. This can be done with either a value core tool or if you’re desperate a pair of pliers will normally do the job if you are very careful.

Step 8: Let The Air Out Until You Reach Desired Pressure.
Now that the bead is seated on the rim you can let some air out to run the tyre at your desired pressure. We made a mountain bike tyre pressure calculator here if you are unsure of what pressure you would like.

Step 9: Refit To Bike And Check Pressure.
Once you have refitted your wheel back onto your bike, it’s a good idea to keep an eye on tyre pressure and look out for sealant leaks. Sealant leaks are common on the side walls/bead for the first 12 hours. However, if the tyre keeps going flat you make have not seated the tyre right, or it could be leaking from the valve or a spoke nipple.

Questions and Answers
How Do Tubeless Mountain Bike Tyres Work?
Tubeless mountain bike tyres work by the tyre forming an air-tight seal to the rim of the wheel. This normally requires a specific tubless tyre and rim combination. Also, tubeless rim tape is required if the rim has holes for the spokes, this will help create an airtight seal. Lastly, a latex-based sealant is often used, this helps the tyre seal against the rim and also plugs any small holes if the tyre is punctured.
How Much Does Tubeless Tire Sealant Cost?
Tubeless tire sealant for bikes costs between $25-40usd per liter (£17£30gbp). There are many different brands, some brands add things like glitter or sand to help plug up any punctures. Stans make a good sealant you can check out here
What Psi Should My Tubeless Mountain Bike Tires Be?
Tubeless tyres are designed to be run at much lower pressures than traditional innertubes. Most tubeless tyre manufacturers do not recommend more than 55psi. There are many variables when it comes to choosing tyres pressure, if you are unsure, you can check out our tyre pressure calculator.
How Much Does It Cost to Go Tubeless on A Mountain Bike?
Around $180. However, this depends if your rim and tyres are tubeless compatible. Most rims can be made tubeless with tubeless rim tape, so if this the case, you will need: tubeless tyres (around $60 each), tubeless valves ($10 each), tubeless rim tape ($5 (each), and Tubeless sealant ($15 (per wheel).
Do Tubeless Tires Go Flat?
Tubeless tyres should not go flat if they are installed correctly and if the sealant is replenished regularly. If you have just fitted a tyre and it’s gone flat the next day, then you most likely have not fitted the tyre correctly, or you have a hole in your rim tape, or your valve has not been installed correctly. Try submerging the tyre in water to see if you can find where the leak is coming from.
How Long Do Tubeless Tires Last?
3-6 months. However, this depends on how much you ride, the conditions you ride in, and the number of punctures you have had. if you don’t ride often, and store your bike in a cool dry place, then your sealant could last 6-9 months without any issues. Just remember to turn the wheels once and a while, otherwise, the sealant can solidify into a big lump, that’s tricky to remove.
What to Do if You Get a Flat on Tubeless?
ideally, it’s recommended to carry an inner tube to get you home, as fixing tubeless tyres on the trail can be difficult and messy. However, you can get tubeless repair kits, and gas canisters if you choose to fix the issue on the trail. Just remember that tubeless repair kits only work for small holes
Is It Normal for Tubeless Tires to Lose Air?
No, however over a long period of 2-3 months than they can loose air. if your tubeless wheels are losing air over a few days, then you might want to replace the sealant and check the valve is tight. If unsure, submerge the wheel in water and look for bubbles.
We also have guides on how to :