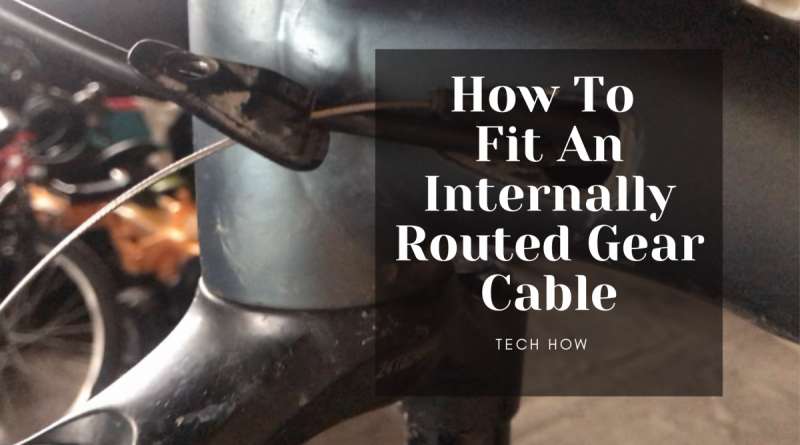
How To Fit An Internally Routed Gear Cable? (With Photos)
Fitting a gear cable should be a relatively simple task for most experienced bike mechanics. However, fitting an internally routed inner and outer cable can be a big challenge, especially if it’s your first time. Fortunately, there are a few tricks that can make your life much easier. I have written a step-by-step guide, and I have made a video if you prefer.
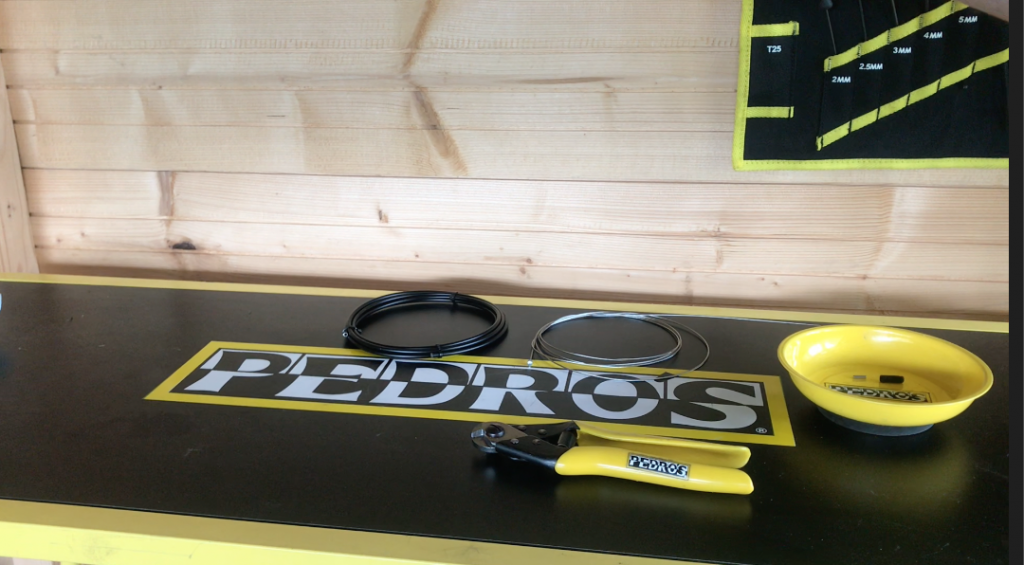
Tools
- Allen keys
- Cable cutters
- Pliers
Parts
- Outer gear cable
- Outer gear cable
- Cable ends
- Cable crimps
How To Fit An Internally Routed Gear Cable
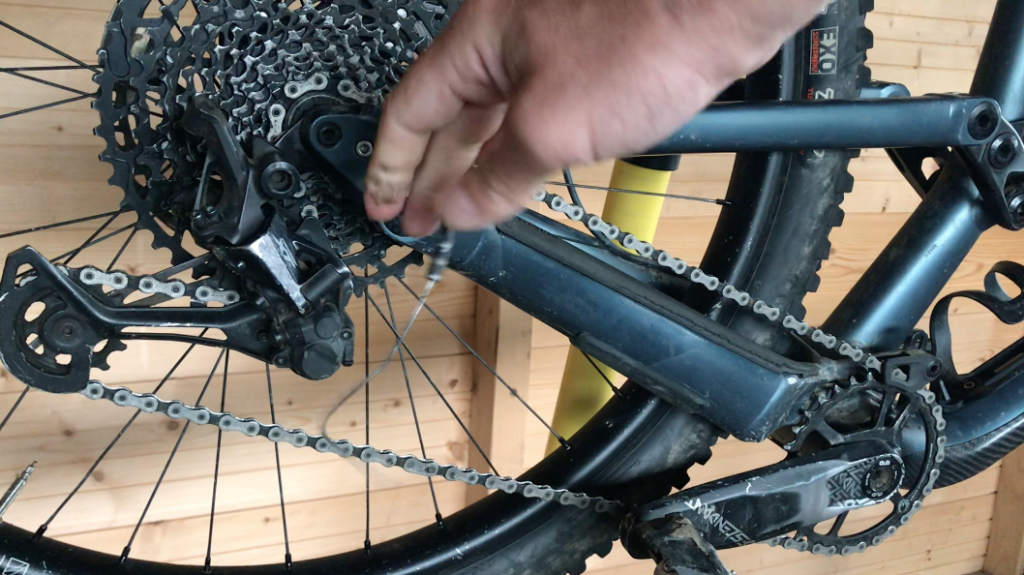
Step 1.
Start by shifting the chain into the smallest cog on the cassette. loosen off the retaining bolt that fastens the cable to the derailleur. Then pull the inner and outer cable away from the derailleur.
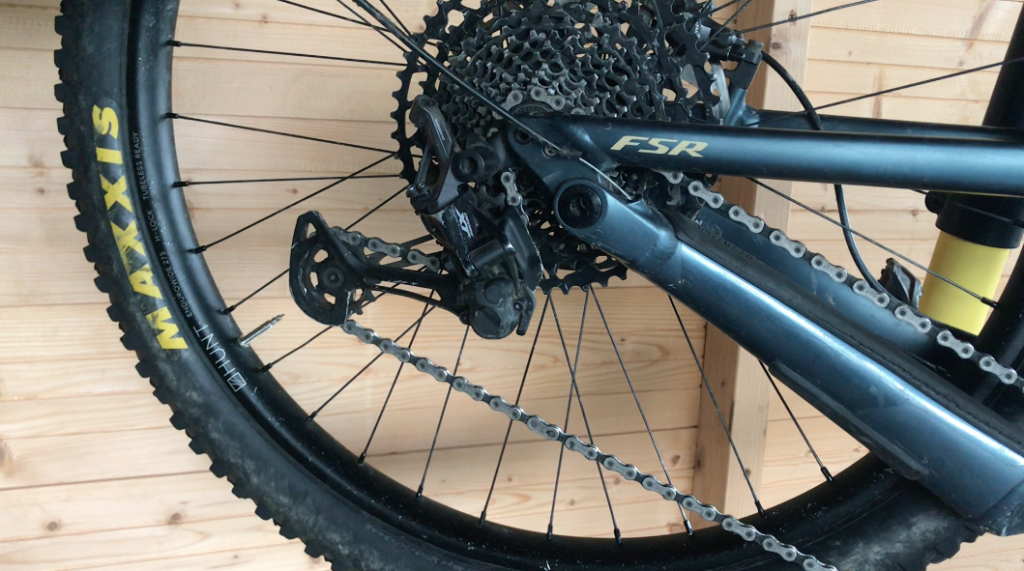
Step 2.
For internally routed cables (inside the frame), you wanted to leave the old inner cable inside the frame and remove the old outer cable. The old inner cable will be used as a guide for the new cable. It’s a good idea to loosen off any cable guides and cut off any zip ties, this should make it easier to remove the otter cable. Now remove the outer cable remember to leave both ends of the inner cable protruding from the frame.
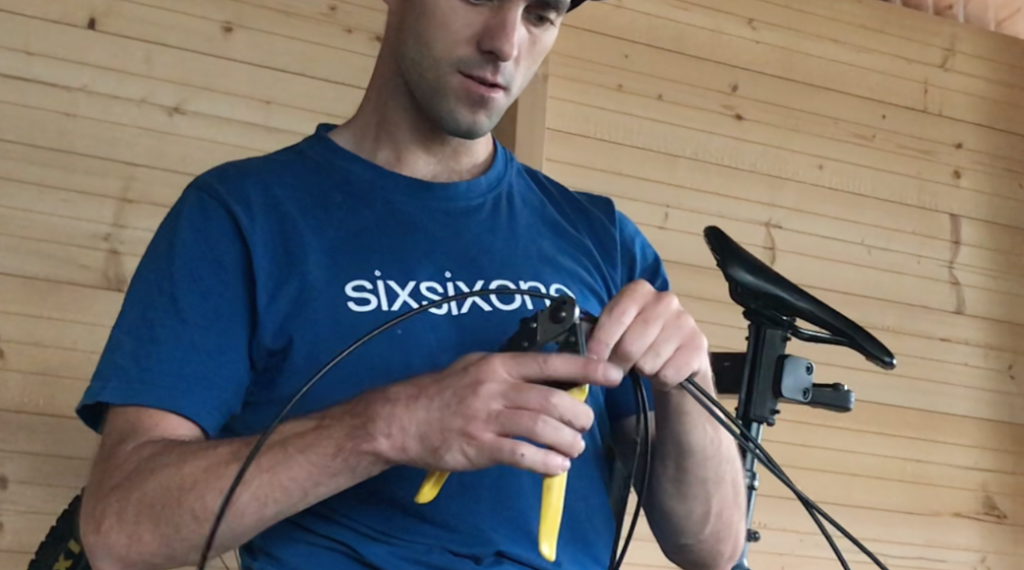
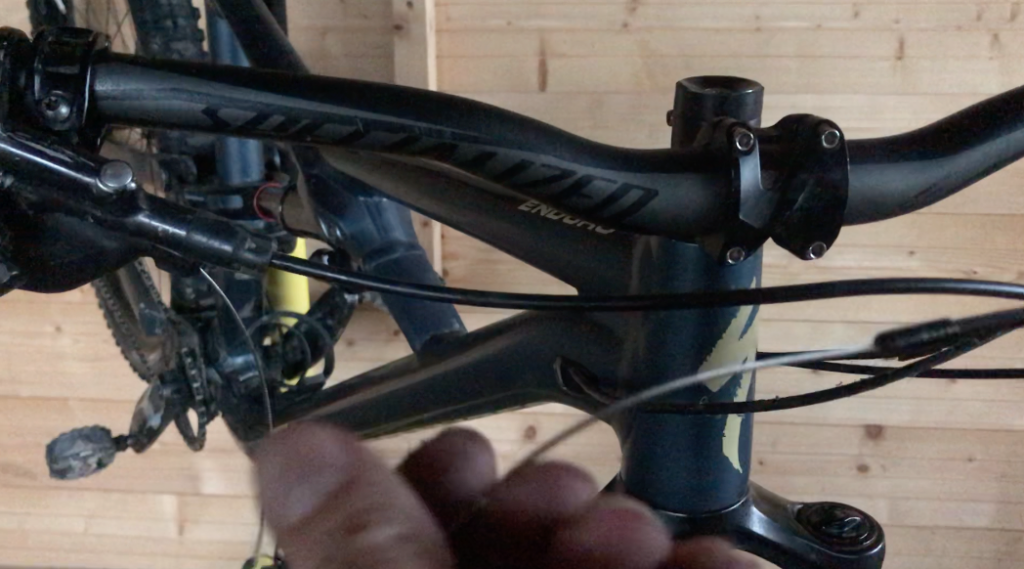
Step 3.
Now use the old outer cable as a guide to cut the new outer cable to size. Line them up next to each other. Take your cable cutters and cut the new cable an extra 10-15mm longer than other the old outer cable, (you can always cut shorter later if needed, but it’s often useful to have a bit extra to play with). Take an old piece of gear cable, or a 1.5mm Allen key, and use it to ensure both ends of the new outer cable are fully open, this will help reduce friction, and give a smoother shift.
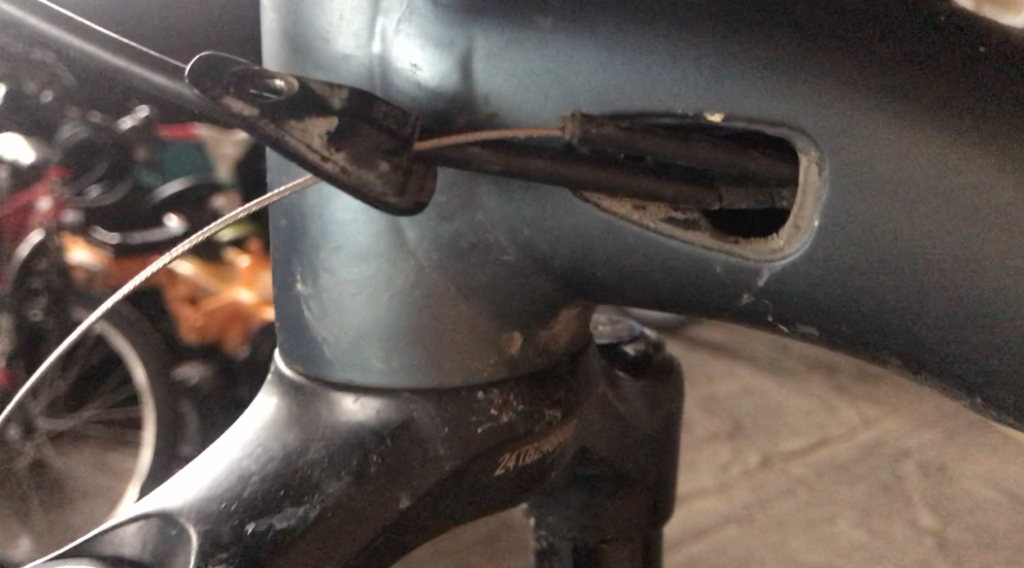
Step 4.
Trim the ends of the old inner cable with your cable cutters. Now slowly slide the new outer cable over the old inner. Check to see if there are any points at which the cable leaves and re-enters the frame, and you may need to help guide it through with your fingers. Once you have got the outer cable all the way through, you can remove the old inner cable from the new outer.
Step 5.
Check the barrel adjuster on the shifter is wound all the way into the shifter, and then remove the old inner cable from your shifter. Now install the new inner cable into the shifter. Add a ferrule(cable ends) to both ends of the outer cable. Now slide the new inner cable right through the new outer cable, ensure the cable is firmly fitted to the shifter.
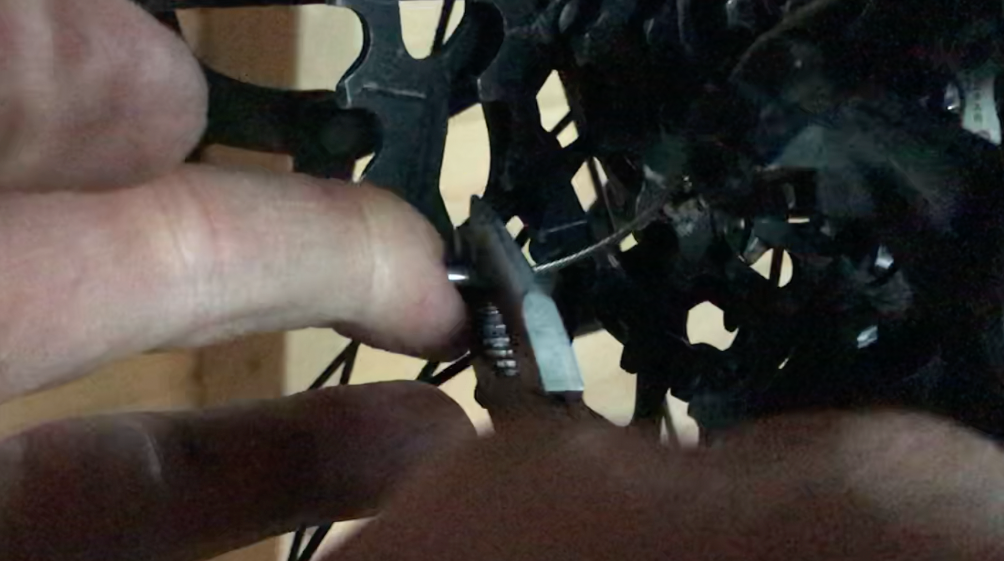
Step 6.
Now insert the cable into the derailleur and fasten the cable at the cable mounting point on the derailleur. Trim the inner cable around 10-15mm from the mounting point. Now shift through your gears a few times, this should help pull both the inner and outer cables tight. Now loose off the cable mounting bolt, pull the cable tight, and firmly remount the cable to the derailleur. Providing your derailleur was setup correctly your gears should work if they need adjusting you can see our tutorial here on how to set up your gears.
Our Step By Step Video
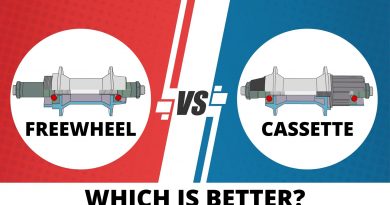
What Is Internal Cable Routing?
Internal cable routing is when a cable is routed inside the frame of the bike rather than on the outside. Most modern high-end bikes have internal cable routing.
Is Internal Cable Routing Better?
The main advantages of Internal cable routing are mainly aesthetic. However, it also helps to protect the cables from getting caught on things, like suspension and keeps it out of the way of the rider. The disadvantages to internal cable routing are they can be much more of a challenge to replace than externally routed cables. Also, some internally routed frames can cause sharp bends and kinks in the cables which can dramatically decrease shifting performance.
When Should MTB Shifting Cables Be Replaced?
Around every 150-200 hours of riding. However, mountain bike gear cables should be replaced more if you are riding in wet conditions. Also, cables can be left without being replaced for much longer if you take good care of your cables and drivetrain.
Can I use brake housing for shifter cables?
It is definitely not recommended, however, it is possible to use brake cable for shifter cable housing. Although you will not likely be able to use cable ends as it won’t fit into the shifters, etc. If you want good shiting, always use a good inner and outer gear cable – it’s relatively inexpensive but can make a big difference in shifting performance.
Are Brake And Gear Cables The Same?
No, brake and great cable are not the same. Gear cable is much thinner than brake cable. Also, gear cable normally has a different size and shape end which is designed to fit into a gear shifter.
Some of our other guides you may find useful:
How to Replace a Mountain Bike Cassette: (Step-By-Step Guide)
How To Replace A Shimano Disk Brake Lever? (Easy Step-By-Step)